I see buyers pick the wrong tool, strip screws, and overheat packs. I did that once. Let’s fix it today.
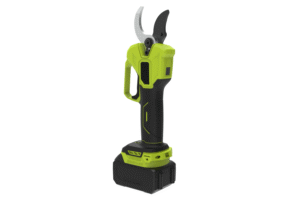
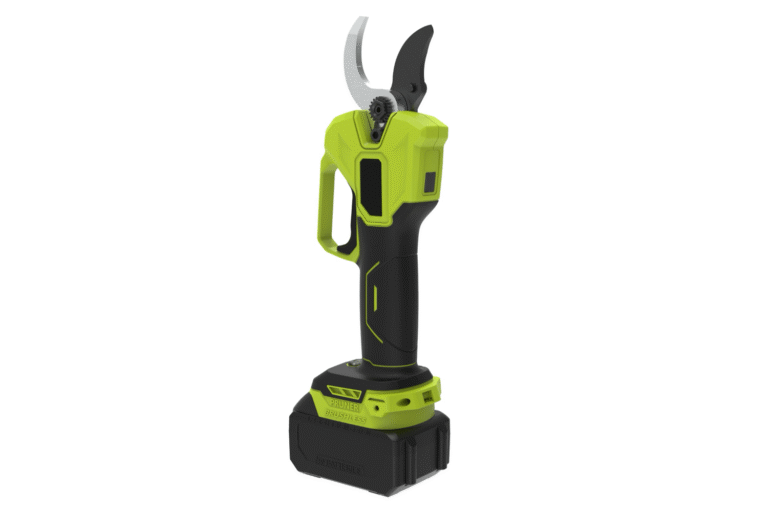
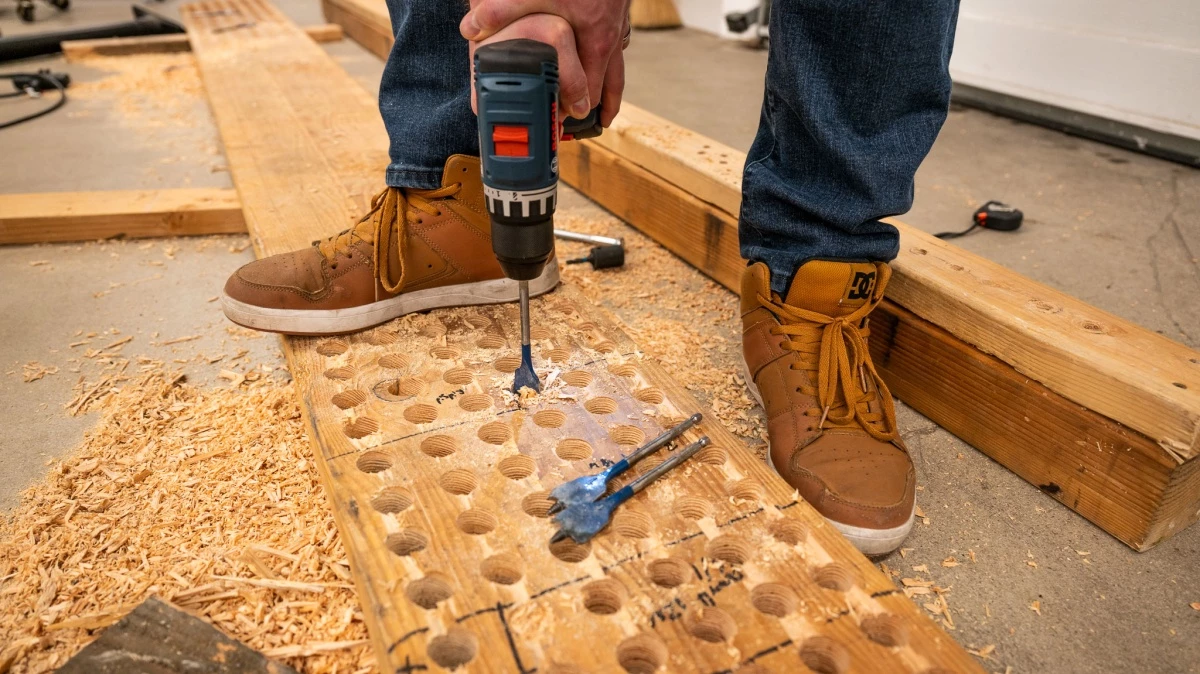
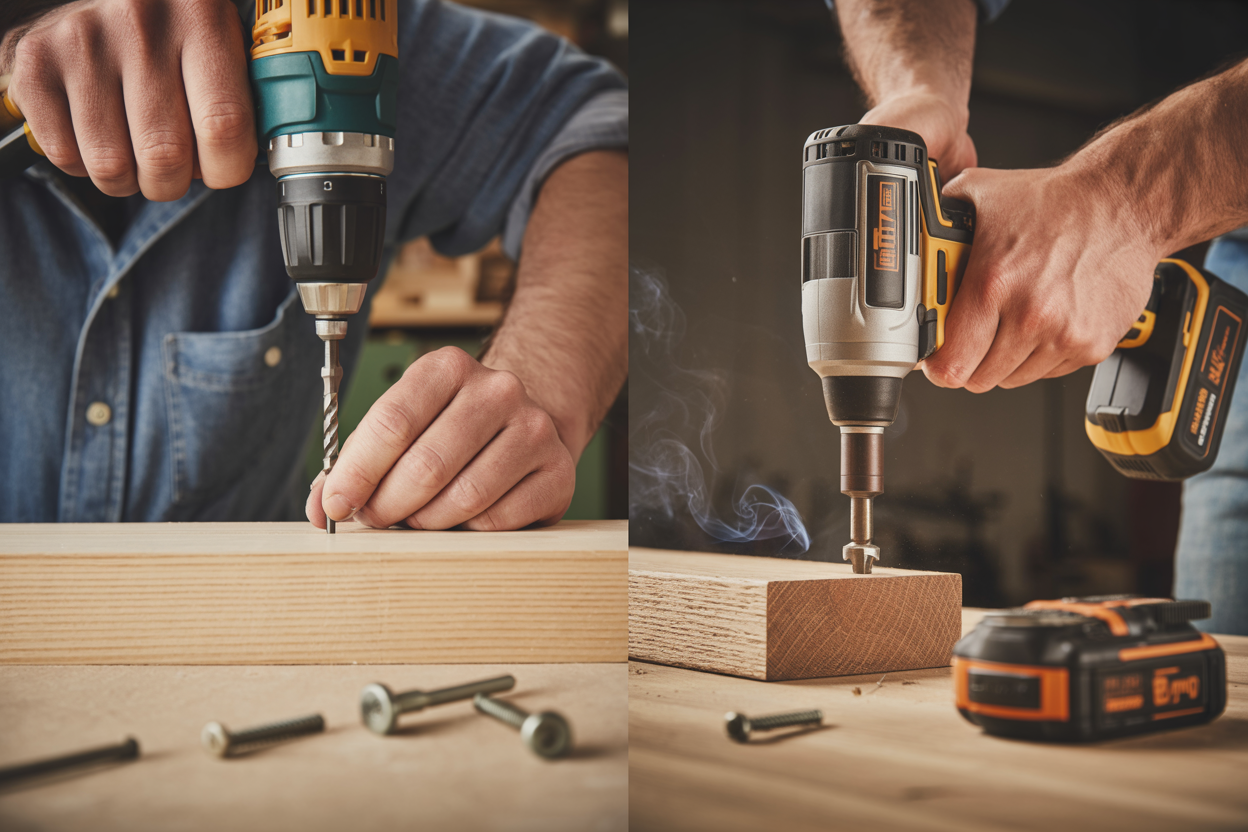
Use a drill for clean holes, pilot holes, and delicate fastening. Use an impact driver for long screws, lag bolts, dense woods, and repetitive driving. Impacts give more torque with less cam-out, but not precision drilling.
I learned this in Bologna when a “24V high capacity” drill overheated in 15 minutes. Since then, I match the tool to the job first—and specs second. [learning more...]
When should you use an impact driver instead of a drill?
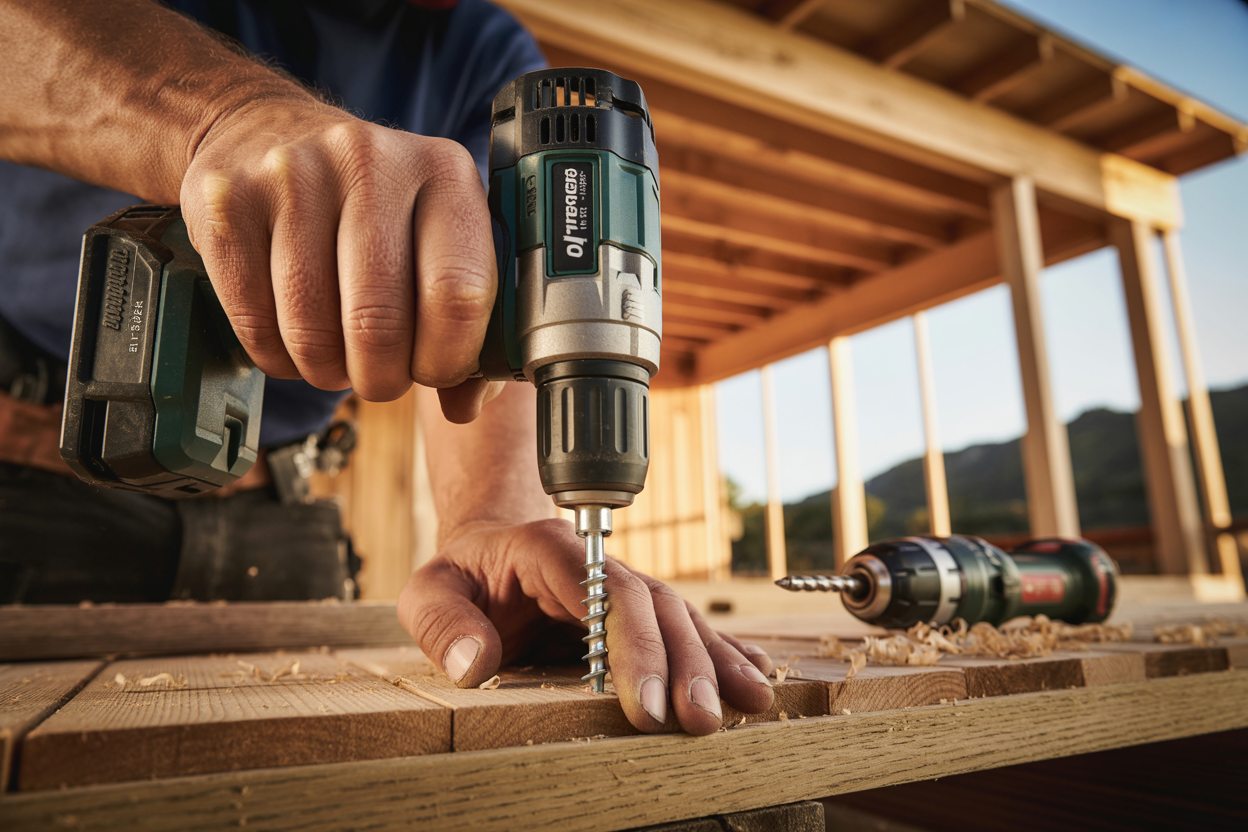
When wood fights back, the impact driver shines. I grab it for long screws, deck boards, frames, and seized fasteners.
Use an impact driver for long screws, deck screws, lag bolts, concrete screws with proper bits, and stuck fasteners. The hammering adds torque and cuts cam-out, so you drive faster with less wrist twist.
how I decide in real jobs
I think in tasks, not tools. If the job is “lots of driving into tough material,” the impact driver wins. It turns hard moments into steady progress. The bit stays seated. The screw head survives. My wrist thanks me.
Quick rules I use
- If I need speed + power → impact driver.
- If I need accuracy + round holes → drill.
- If I need both all day → carry both; switch, don’t fight.
Materials and fasteners
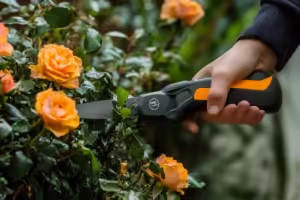
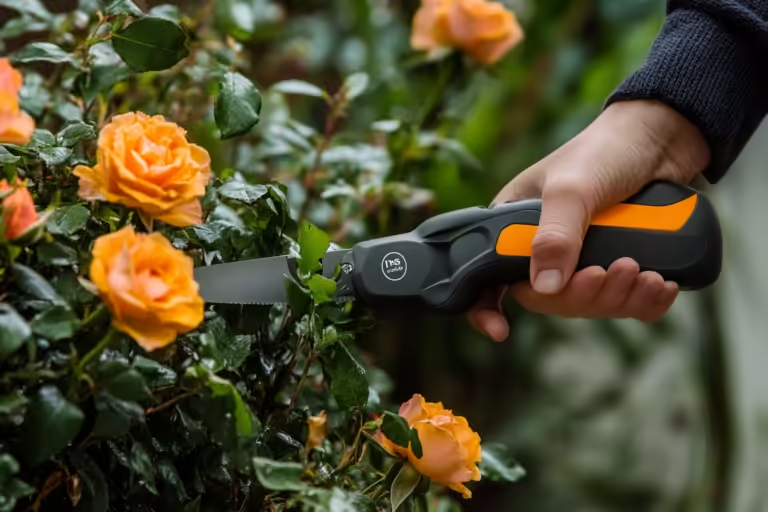
- Softwood decks: impact handles long deck screws without chewing up heads.
- Hardwood/engineered lumber: impact + waxed screws; pre-drill pilots with a drill for clean edges.
- Masonry anchors: impact can set concrete screws, but I drill the hole with a hammer drill first.
- Metal roofing/self-tapping screws: impact with quality hex-washer bits prevents skating.
Control and fatigue
The hammering splits torque into pulses. That reduces kickback. On long runs, I feel less forearm strain than with a high-torque drill. Noise is higher, but control is easier once I learn steady pressure.
What I pack for site days
| Scenario | Why impact wins | Bit / Accessory I use |
|---|---|---|
| Deck boards & joists | Fast driving, less cam-out | T25/T30 impact-rated bits |
| Timber framing / structural screws | High torque without wrist flip | Impact socket or nutsetter |
| Concrete screw installation (after hole) | Seats Tapcons confidently | Impact-rated hex bit |
| Rusted or seized fasteners | Pulses break static friction | Penetrant + impact socket |
What are the disadvantages of impact driver?
Every tool trades strength for limits. Impacts are powerful but not perfect. I tell buyers early to avoid surprises.
Downsides: less precise hole drilling, louder noise, more vibration, limited clutch control, small-screw finesse issues, and faster bit wear if bits are cheap. Workarounds exist, but drills still own precision.
know the trade-offs and the fixes
Precision limits
An impact1t driver](https://greengirt.com/articles/why-impact-drivers-are-not-recommended-for-use-on-metal-or-composite-materials/)[^1] is not built to cut clean, accurate holes. The anvil strikes; the bit wanders. I can use step bits or hex-shank drill bits2 in a pinch, but the hole quality is lower than a proper drill.
Noise and vibration
The impact1 sound carries. On a quiet site—or a client’s home—it can feel rude. I carry ear protection and adjust hours if I’m indoors. Vibration also tires hands on long runs with hard materials.3
Control on small screws4
Tiny cabinet screws4 or soft pine can split when the pulses bite. A drill’s clutch saves workpieces here. If I must use the impact1, I set speed low, use fresh bits, and pilot first.
Accessory limits
Round-shank drill bits2 spin in the chuck5 of a drill; they do not fit the 1/4″ hex collet without an adapter. Hex drill bits2 exist, but selection is smaller, and runout can be worse.
Costs you don’t see at first
Cheap bits die fast under impact1s. I buy impact1-rated bits, rotate them, and accept that consumables are part of the math—better than stripping a hundred screws4.
My field cheatsheet
| Drawback | What it looks like | My fix |
|---|---|---|
| Messy holes | Fuzzy edges, oversized holes | Switch to drill for holes; use step bits only in a pinch |
| Too loud | Clients complain; crew fatigues | Ear protection; drill where possible; time the noisy work |
| Splitting softwood/small screws | Head snaps, wood cracks | Pilot with a drill; lower speed; use clutch if available |
| Bit breakage | Bits snap or round off | Impact-rated bits; correct length; steady, straight pressure |
| Poor finesse | Can’t “feather” torque like a clutch | Finish by hand or with drill on low clutch settings |
Can an impact driver do everything a drill can do?
People ask me this weekly. Short answer—no. Long answer—plan your kit so both tools cover each other’s weak spots.
An impact driver cannot drill clean, accurate holes across materials like a drill. A drill struggles with long, heavy fasteners. A two-tool kit—hammer drill plus impact driver—covers almost all site work efficiently.
overlap, gaps, and smart kits
Jobs the drill still owns
Precision holes in wood, metal, and plastics. Forstner bits for flat-bottom holes. Hole saws that need smooth torque. Countersinks that must look clean on a cabinet face. Tap-drilling for machine screws.
Where the impact shines
Driving hundreds of screws without cam-out. Long structural screws where a drill would stall or twist my wrist. Fast disassembly with nutsetters. Breaking loose corroded hardware with less drama.
Adapters and edge cases
Yes, I can stick a hex-shank drill bit in an impact and “drill.” For rough holes or job-site emergency, it’s fine. For cabinetry or metal layout? No. I value accuracy more than saving one minute.
Two-tool workflow that saves time
I pre-drill pilots with the drill, then leave a countersink in it. I drive with the impact. No constant bit swaps. Fewer mistakes. On long days, the rhythm alone keeps crews faster and calmer.
Buying cues for a distributor like Deivis
Offer paired kits with matching batteries and chargers. Label the use-cases clearly on the box. Include impact-rated bits and a clutch-focused drill guide. It reduces returns and support tickets.
Task reality check
| Task | Impact Driver | Drill | Notes |
|---|---|---|---|
| Clean, accurate hole | ⚠️ Possible | ✅ | Drill wins; use sharp brad-point or metal bits |
| Driving long screws/lag bolts | ✅ | ⚠️ | Impact wins; pre-drill in hardwood to prevent splits |
| Setting concrete screws (after hole) | ✅ | ✅ | Drill the hole with hammer mode; drive with impact |
| Cabinet hardware, small screws | ⚠️ | ✅ | Use drill with clutch; impact can over-drive |
| Hole saws / Forstner bits | ❌ | ✅ | Smooth torque required |
| Breaking stuck fasteners | ✅ | ⚠️ | Impact pulses help loosen |
What’s the most common rookie mistake with the drill and impact driver?
The biggest mistake is not a screw. It’s using the wrong mode or bit, then blaming the tool. I see it at every show.
Common errors: drilling with an impact, driving with a drill clutch set too high, skipping pilots, and using worn bits. Result: stripped heads, split wood, hot batteries. Fix: match tool, bit, and settings.
the mistakes that cost money—and how I prevent them
Clutch literacy
A drill’s clutch is a gift. Many rookies set it to max and bury screws below the surface. I start low, test on scrap, then bump up until the screw sits flush—never crushed.
Bit hygiene
Dull bits skate and chew. I replace bits on a schedule, not only when they break. I keep short, medium, and long impact-rated bits. I store them in labeled sleeves so crews stop guessing.
Battery and cooling reality check
A hot pack is a warning, not a badge. High claims mean nothing if airflow is poor. I rotate packs, give them shade, and avoid leaning hard when a bit is already dull. Power is a system: motor, pack, cooling, and the bit.
Simple workflow that keeps jobs smooth
| Mistake | Symptom | Quick fix |
|---|---|---|
| Impact used to drill clean holes | Ragged hole, burn marks | Use a drill; sharp brad-point or metal bit; steady speed |
| Drill driving with clutch set too high | Over-driven screw, split wood | Start low; test on scrap; increase until flush |
| Skipping pilot holes in dense material | Split edges, stalled tool | Pilot with drill; wax screws; drive with impact |
| Worn or wrong bit | Cam-out, rounded heads | Use fresh, impact-rated bits that match head type |
| Leaning harder instead of changing bits | Smoke, hot battery | Change the bit; let pack cool; don’t force it |
Conclusion
Use the drill for holes and finesse; the impact driver for speed and power. Bring both, choose wisely, and your jobs—and margins—stay safe.
-
Explore this resource to understand the full range of impact driver benefits and drawbacks, enhancing your tool selection knowledge. ↩ ↩ ↩ ↩ ↩
-
Explore this link to discover the best drill bits for impact drivers, ensuring efficiency and longevity in your projects. ↩ ↩ ↩
-
Explore this link to discover essential tools and techniques for effectively working with hard materials, ensuring better results and efficiency. ↩
-
Explore this link to discover the ideal screws for your woodworking needs, ensuring durability and precision in your projects. ↩ ↩ ↩
-
Understanding the chuck's role in tool performance can enhance your efficiency and precision in projects. ↩